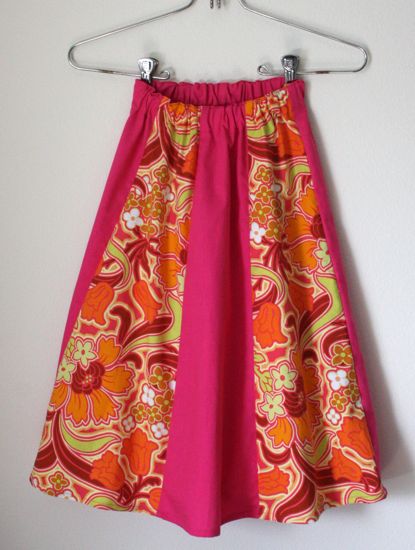
Last year, I made Caitlyn a sunhat. For whatever reason (misreading the pattern, getting carried away), I bought a lot more fabric than I needed. I offered to make Caitlyn a skirt out of the leftovers and promptly buried the fabric in the piles of “pending” projects.

But it’s KCWC! I found the buried fabric when digging through the piles for other fabrics, and now there is a skirt.
I drafted a pattern of sorts for this, mostly by using the assortment of lines on my cutting mat/board. I started with Caitlyn’s waist measurement (although it probably would have been smart to start with a hip measurement), added about 10 inches to it for waistband gathers and general “fudge” room, divided it by 4, added in seam allowance, and put a piece of tissue paper down on the cutting mat to line up with where the distance between the edge of the mat and the mat’s diagonal line matched the number I’d calculated.
Sorry, I should have taken a picture of that. I bet the sentence above would make a lot more sense if I’d taken a picture.
Anyway, I used the mat’s diagonal and handy scallop lines to shape the pattern piece. And then I decided that 4 sections of skirt weren’t quite what I had in mind, so I folded my pattern piece in half vertically then adjusted my fold to account for seam allowance.
And, I should have taken a picture of that.
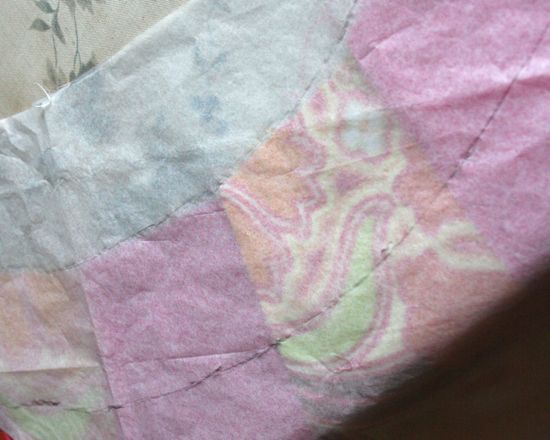
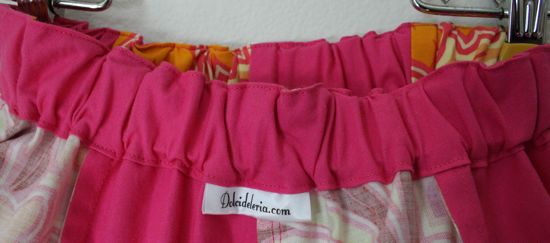
If I were really clever, I would have figured out how to adjust the pattern piece to get a waistband that I could just fold over into a casing. But since the skirt panels are flared for an a-line-ish shape, I went with an added casing. And I did remember to take a picture of that process:

I sewed the eight skirt panels together but left the last seam open so I could lay it flat. I put down tissue paper over the top of the skirt to create a pattern that matched the necessary length for the casing/facing and the curve at the top of the skirt. Ta-da! It worked!

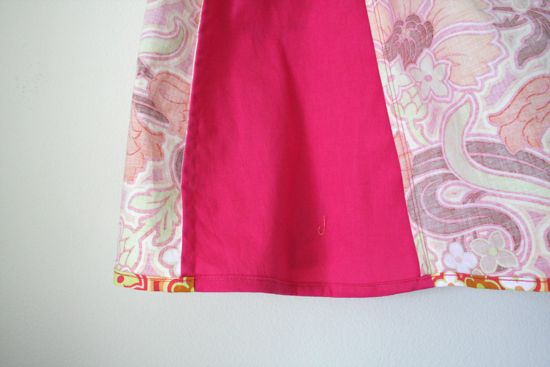
I used a narrow hem in spite of my general tendency to add extra inches and hem up 3 or 4 of them for growing room for Caitlyn. The flared shape of the skirt would have made a fat hem weird. As it is, this is about 3 inches below Caitlyn’s knee. I’m hoping we’ve moved past most of the shocking growth spurts and she’ll take a few years at least to add in the inevitable next foot in height.

But I have learned that narrow hems (probably all hems, really) in cotton fabric don’t like French seams. I’ve been more or less obsessed with French seams since I figured them out; the insides of things look so tidy in French seams. No exposed edges or dangling threads. But French seams are bulky, which is probably why the general recommendation is to serge or zig-zag raw edges unless you are working with sheer or very lightweight fabric. In quilting cotton (yes, most of the clothes I’ve made to-date are in quilting fabric), French seams, pressed to one side, are 5 layers of fabric. Fold them over on themselves twice for a rolled hem and you’ve tripled the stack of fabric you’re working with. Awkward.
So, Caitlyn gets a skirt and I get one more reason to think about a serger.


Hmmm, looking at the hat (adorable!) I wondered if you could borrow the Tilley Hat system of a soft strap threaded through grommets (machine-made eyelets or short buttonholes would work equally well) on each side to keep the hat on. It's adjustable, can be pulled out of the way to dangle harmlessly down the back when it's not windy, and it really keeps a wide-brimmed hat on the head and is basically made out of a long soft shoelace, which should be available in many colors. If you're interested and still looking for a solution for the blow-away hat, I'll send you pics of my mine showing the chinstrap. You could copy it in minutes. I love my Tilley hat and one of the reasons is that simple, effective chin-strap system.
French seams were a favorite of mine also until I caved to the home serger revolution. Baby Lock with air jet threading all the way now, but I'd still use French Seams on a sheer blouse.
Oh, pictures of your hat solution would be great. Thanks!