

My sewing space is in our bedroom. There’s a table with my two machines which doubles as my cutting table (hooray for Ikea and height adjustable tables!), and there’s the ironing board on the other side of the room. While this leaves me some open space for pin basting quilts or playing with colors and fabrics while planning a project, it means I bounce back and forth between the machines and the ironing board a lot.
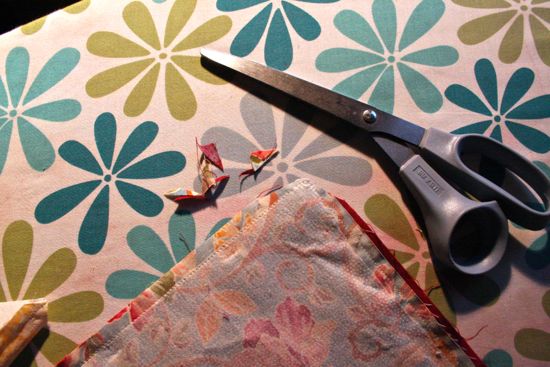
I have one pair of fabric scissors. They are forever not where I am.
There are lots of solutions to the problem: buy more scissors; buy thread nippers to live at the machine; hang the scissors on a chatelaine; carry the scissors with me. I’m attempting that last option first.
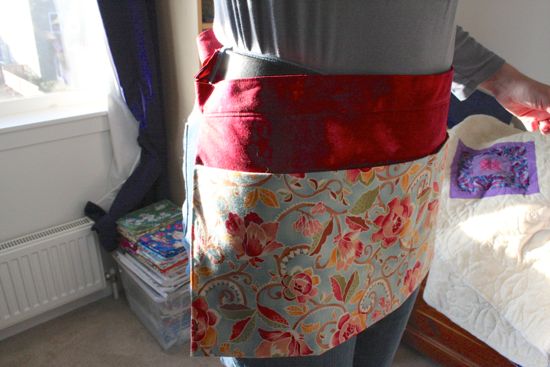
I’m not much of an apron person (I almost never wear one when I cook), but there’s a certain appeal to pockets I can tie onto myself.
It’s a simple apron, somewhat reminiscent of the apron I wore the summer I waitressed, somewhat inspired by an apron sample that was at Stash. All you need is a couple of fat quarters and something extra for the ties. I threw in some interfacing for structure (and because I had some). And if you’ll pardon the unevenness of the following photos, you can see how I made it.
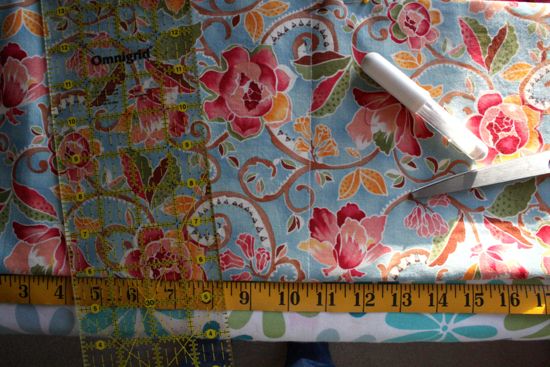
Start with two fat quarters (22 inches wide by 18 inches tall). Cut some strips to be your waistband and ties. My strips were 3 inches by something less than 22 inches, I think. I wasn’t being really precise. Piece your strips end-to-end so you have a long strip; check that it is long enough to tie around yourself comfortably.
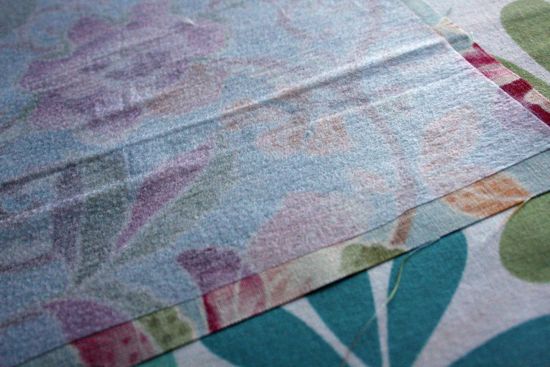
I added some fusible interfacing to the back of one of my fat quarters. This was a last minute decision partially to give the finished apron some structure, partially to be one more layer between me and any pointy ends that I might put in the apron (scissors, seam ripper, etc). I used some random stretch interfacing I had on hand. Trim the edges of the interfacing back from the edges of your fabric to minimize bulk.
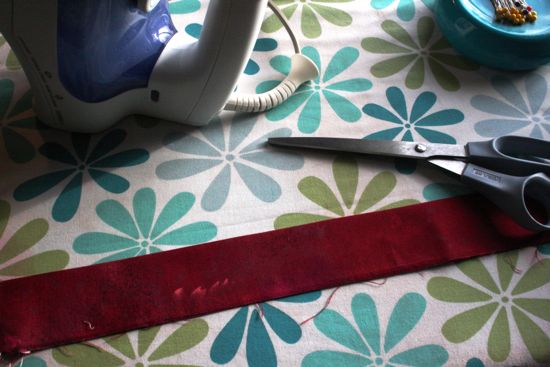
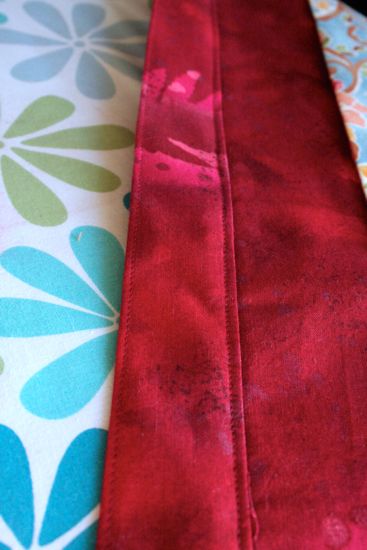
Take your long strip, fold it in half lengthwise and press. This marks the center line of the band.
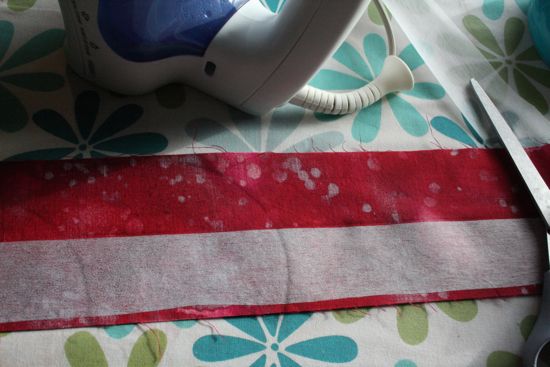
Since I’d put interfacing in the main part of the apron, I figured some interfacing in the waistband was appropriate. Just add the interfacing to one side of the fold down the center of the strip. I didn’t interface the whole thing, just the part I thought would be wrapped around me, leaving the ends more flexible for tying.
Place the fat quarters right sides together and sew around three sides, leaving one long side open. I used a 1/4 inch seam allowance but you could use whatever is comfortable.
Trim your corners. Turn the apron body right sides out. Poke out your corners and press all the edges nice and flat.
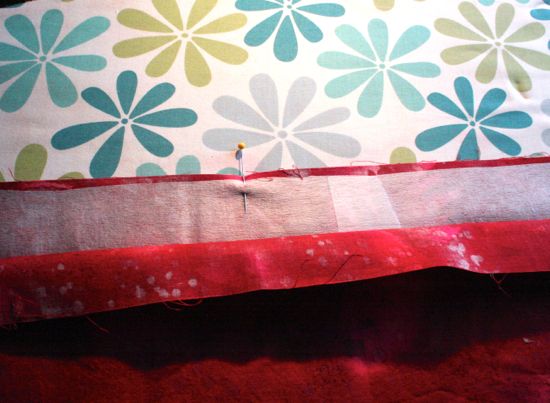
Find the center of both the apron body and the waistband. Match centers and pin.
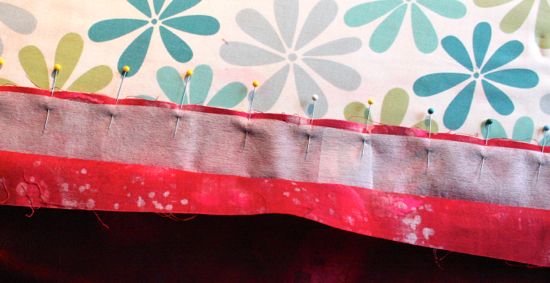
Then pin the waistband to the apron body along the raw edge, smoothing from the center. Sew or baste with a 1/4 or 3/8 inch seam allowance for the width of the apron body. Press the waistband up from the apron body.
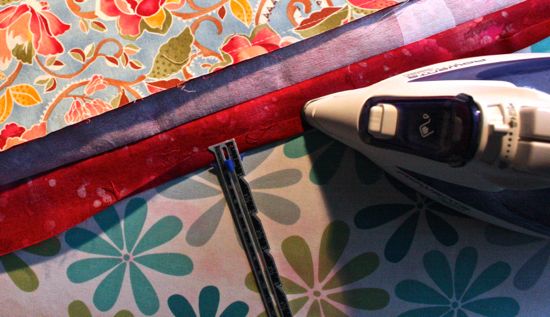
Now for the tricky part. Turn up and press all the unstitched edges of the waistband. Use the same measurement as your last seam allowance or go 1/8 inch smaller. Be careful, though. I started at 3/8 and the seam gauge slipped part way to 1/2 inch. I had to back up and repress about half of my waistband. Adjusting something by 1/8 of an inch is harder than it should be.
Fold the waistband over along the center fold (which you were careful and didn’t press out while you were turning up raw edges, right?). Turn in the ends. Pin everything.
Edgestitch it all down, all the way around. You should have a nice neat waistband and tie enclosing the raw edge of the top of the apron body.
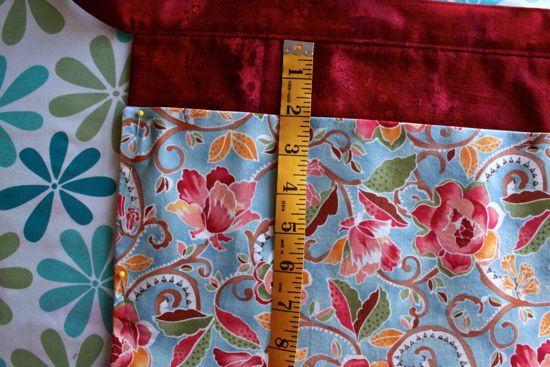
To determine how much to turn up the apron to make the pockets, I tied it on and turned up the lower portion to something that felt right, pinning the edges. I double checked that my fold was straight by taking it off and checking a few points. You want the top edge of your apron pockets to be an equal distance from the bottom of your waistband all the way across.
Pin your pocket edges and edge or topstitch.
Find a comfortable place for the center pocket seam. I don’t think I quite centered mine. I did check that my big scissors would fit before marking the stitching line. Mark your line and sew.

And that’s it. A couple of pockets you can tie on so that your scissors are never abandoned on the other side of the room.
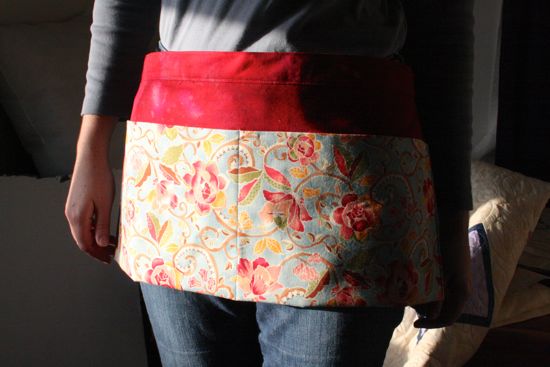
These fabrics came from my stash (I have a skirt made from the floral and I’ve been using up that red since 1997). So, while this project didn’t immediately help me unbury my rocking chair, the hope is that I’ve made something that will contribute to the busting of more stash. And I used up some random interfacing. Here’s to the start of another year of sewing, stashbusting, wardrobe improving, and finishing things!
Bravo – looks great!
This fabric is so beautiful! It seems like an apron that would be enjoyable to wear.
So far, it's working out well. Now if only I could manage to sew for more than 20 minutes at a time, I'd know for sure!